Hull Construction
The hull is made out of a layer of e-glass (similar to fiberglass), then a 1 to 3 inch thick layer of foam spacer, and then an inner layer of e-glass. This creates a foam core composite, making my boat very strong and light weight. My boat weighs 400 lb, which is very light for a 25 ft boat.
The hull’s outer layer of fiberglass was formed using a mold; see the mold page for more. First, the external surface (gel coat) was sprayed onto the outer mold, as shown below. Gel coat must be applied to a mold for it to have a smooth and durable surface.
Before applying the fiberglass, a lot of work went into figuring out how to cut the fiberglass into different sections that would fit perfectly. It needed to be done in advance as the layup had to be done in a few hours before the epoxy hardened. This was very hard to do for a project this size. To cut all the fiberglass, I used a projector to make templates, which I used to cut around ~17 unique shapes, each of which had have 3 layers.
Then the next day, the fiberglass has to be laid up; otherwise, it won't bond with the gel coat very well. The below image shows the cutout fiberglass draped over the mold, ready for epoxy to be applied to it.
Fiberglass draped over the mold.
After the epoxy is applied, it is covered with a perforated release film which keeps the epoxy from sticking to it an the breather and bleeder. The breather and bleeder allows air to flow out into the vacuum pump and also absorbs excess epoxy from the fiberglass. Then the vacuum bag goes over and seals against the mold with a gummy-like tape.
The perforated release goes over the fiberglass, then the breather and bleeder, and lastly the vacuum bag.
Below you see the fiberglass with a vacuum bag and bleeder over it. The vacuum bag compresses the fiber glass squeezing out the excess epoxy, resulting in very strong and consistent fiberglass.
Vacuum bag, front of the boat. Dots are excess epoxy.
Vacuum bag, back of the boat.
Vacuum bag, front of the boat.
Hull fiberglass completed
Structural Ribs
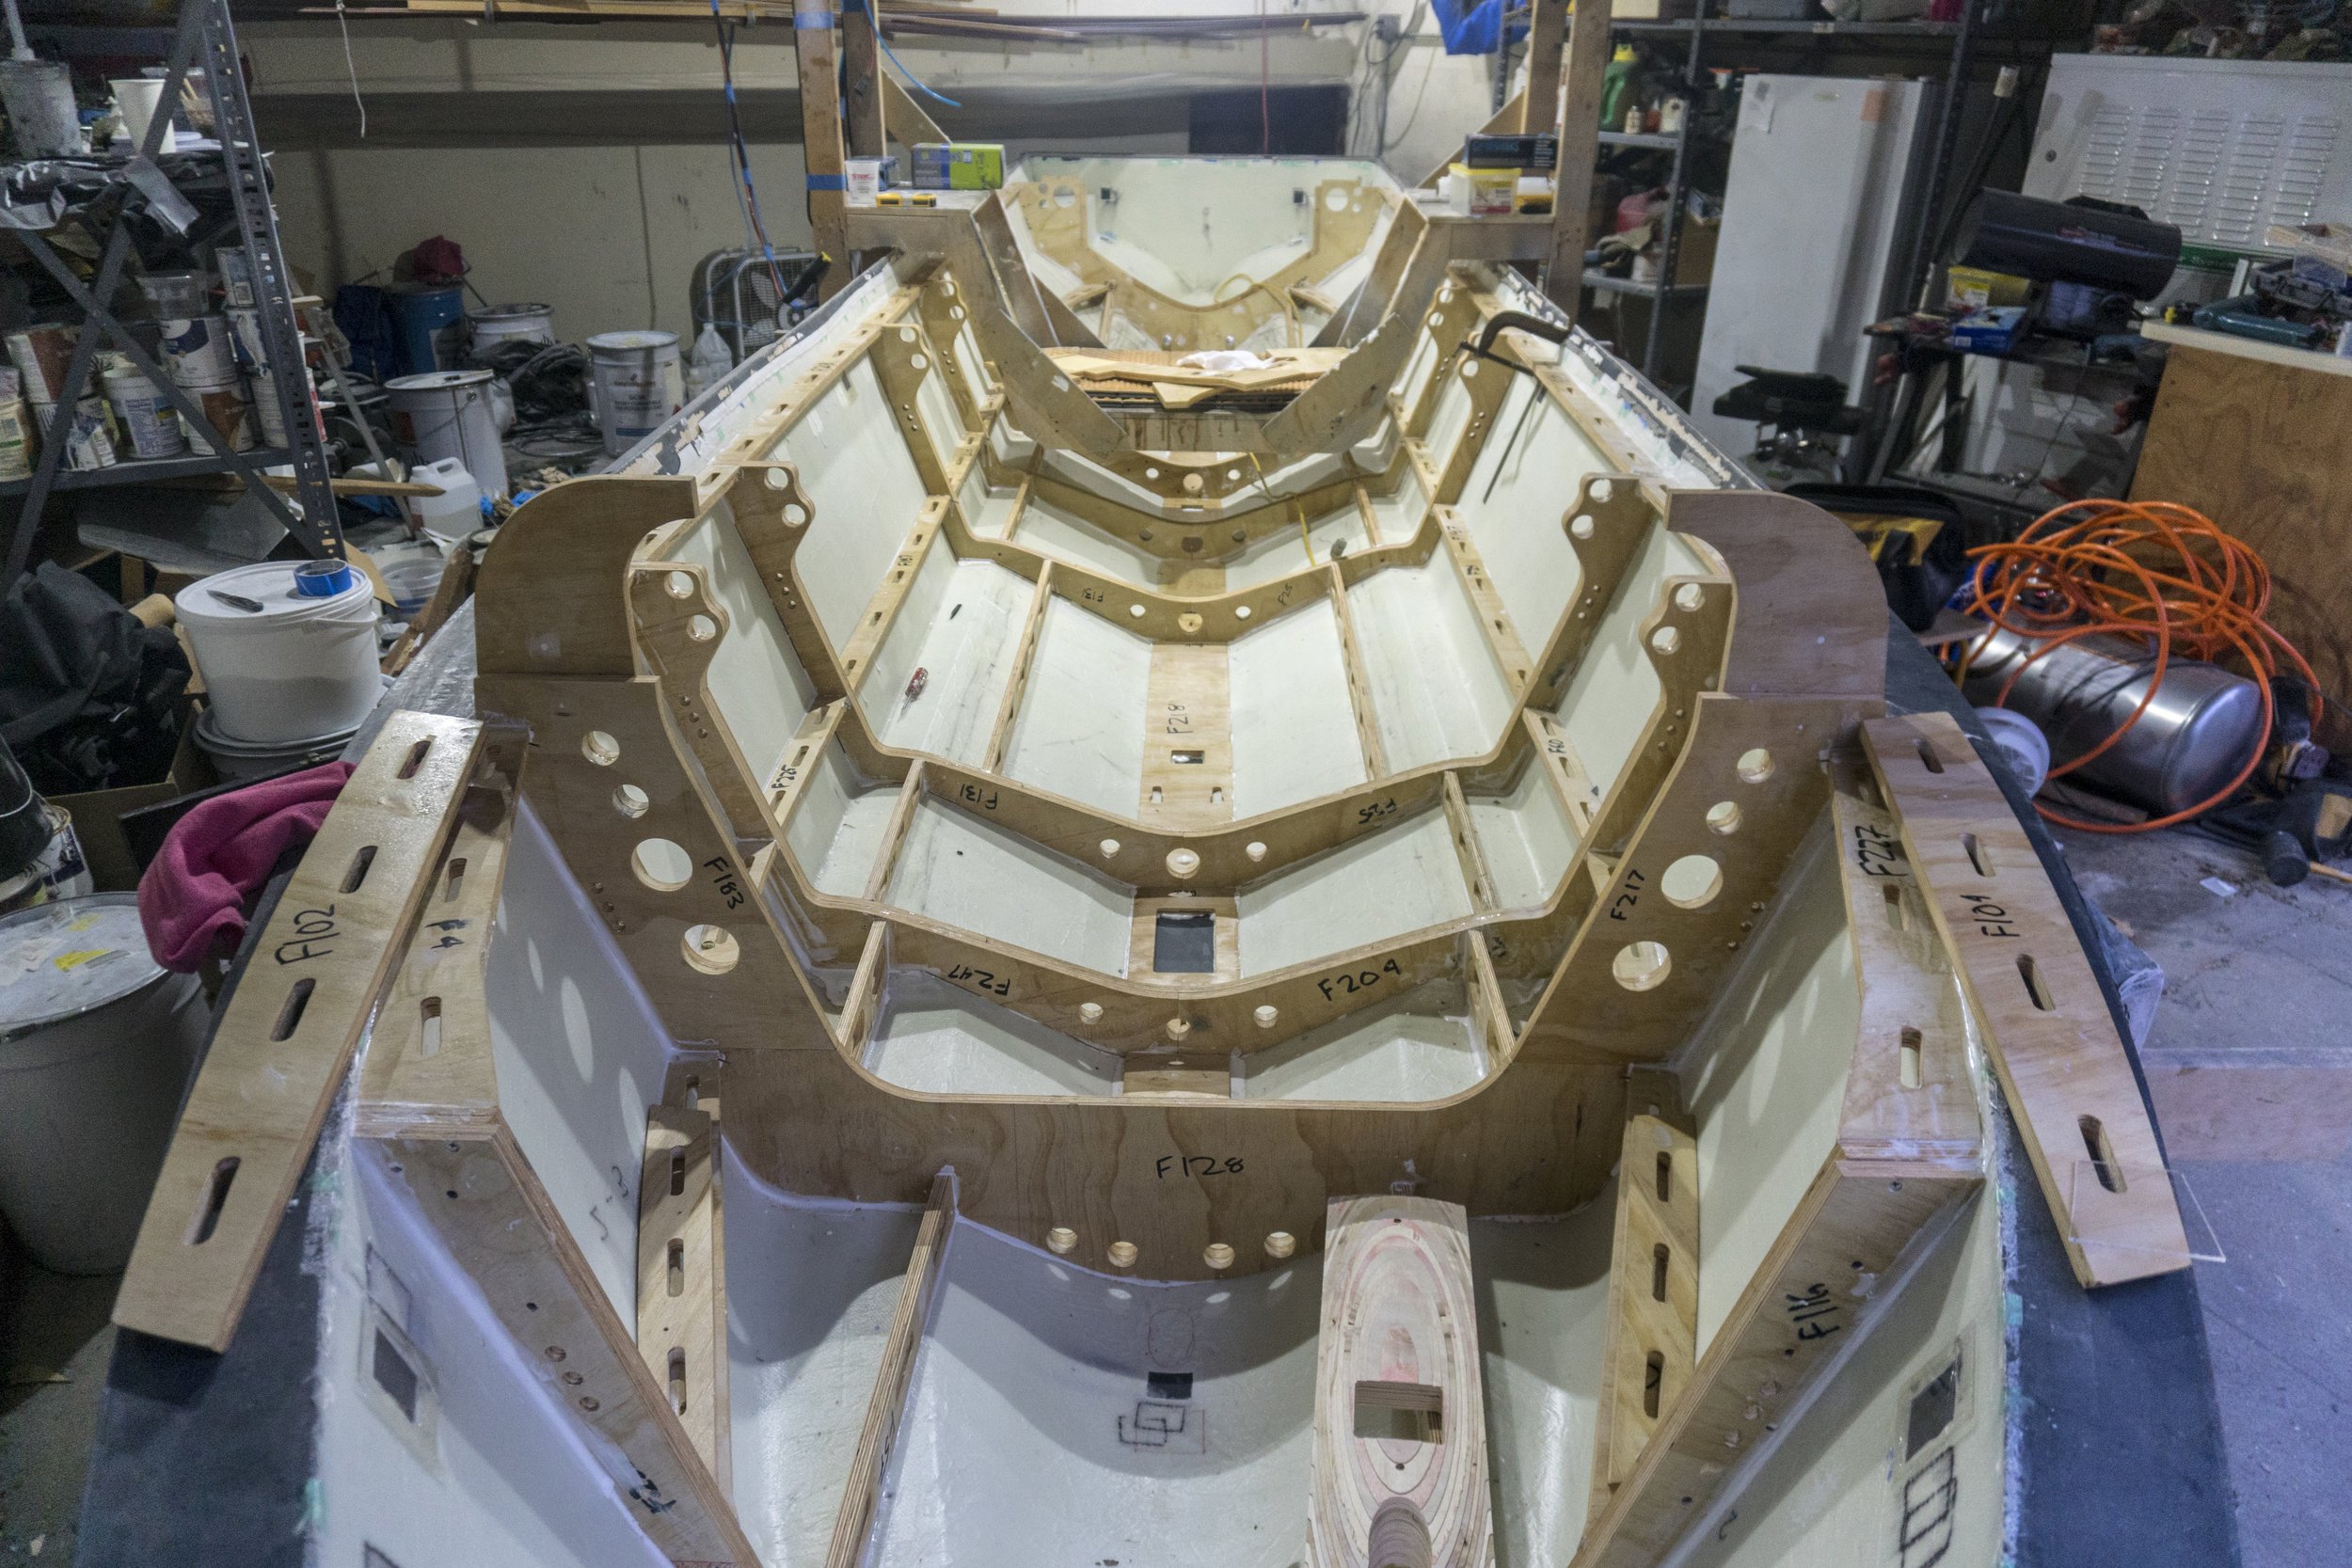
All the ribs were machined out of plywood using my CNC router. Below, you can see most of the parts that were machined. Note a lot of the parts have 3D curves that I had to machine.
Photo shows the structural ribs being glued in place with epoxy on to the outer hull fiberglass.
Inner middle mold with fiberglass layed up on it
Combining the molds
After the fiberglass is set on the inner mold it was moved inside the outer hull mold and lowered very slowly.
Middle inner mold getting ready to be lowered into the outer hull mold
Front compartment inner mold getting ready to be lowered into the outer hull mold
Middle inner mold in the outer hull mold
Foam Core
Expanding foam was poured into the hull between the inside mold and the outer hull mold. The foam expanded and filled all the voids, making the boat much stronger (acting as a foam composite).
Mold Removal
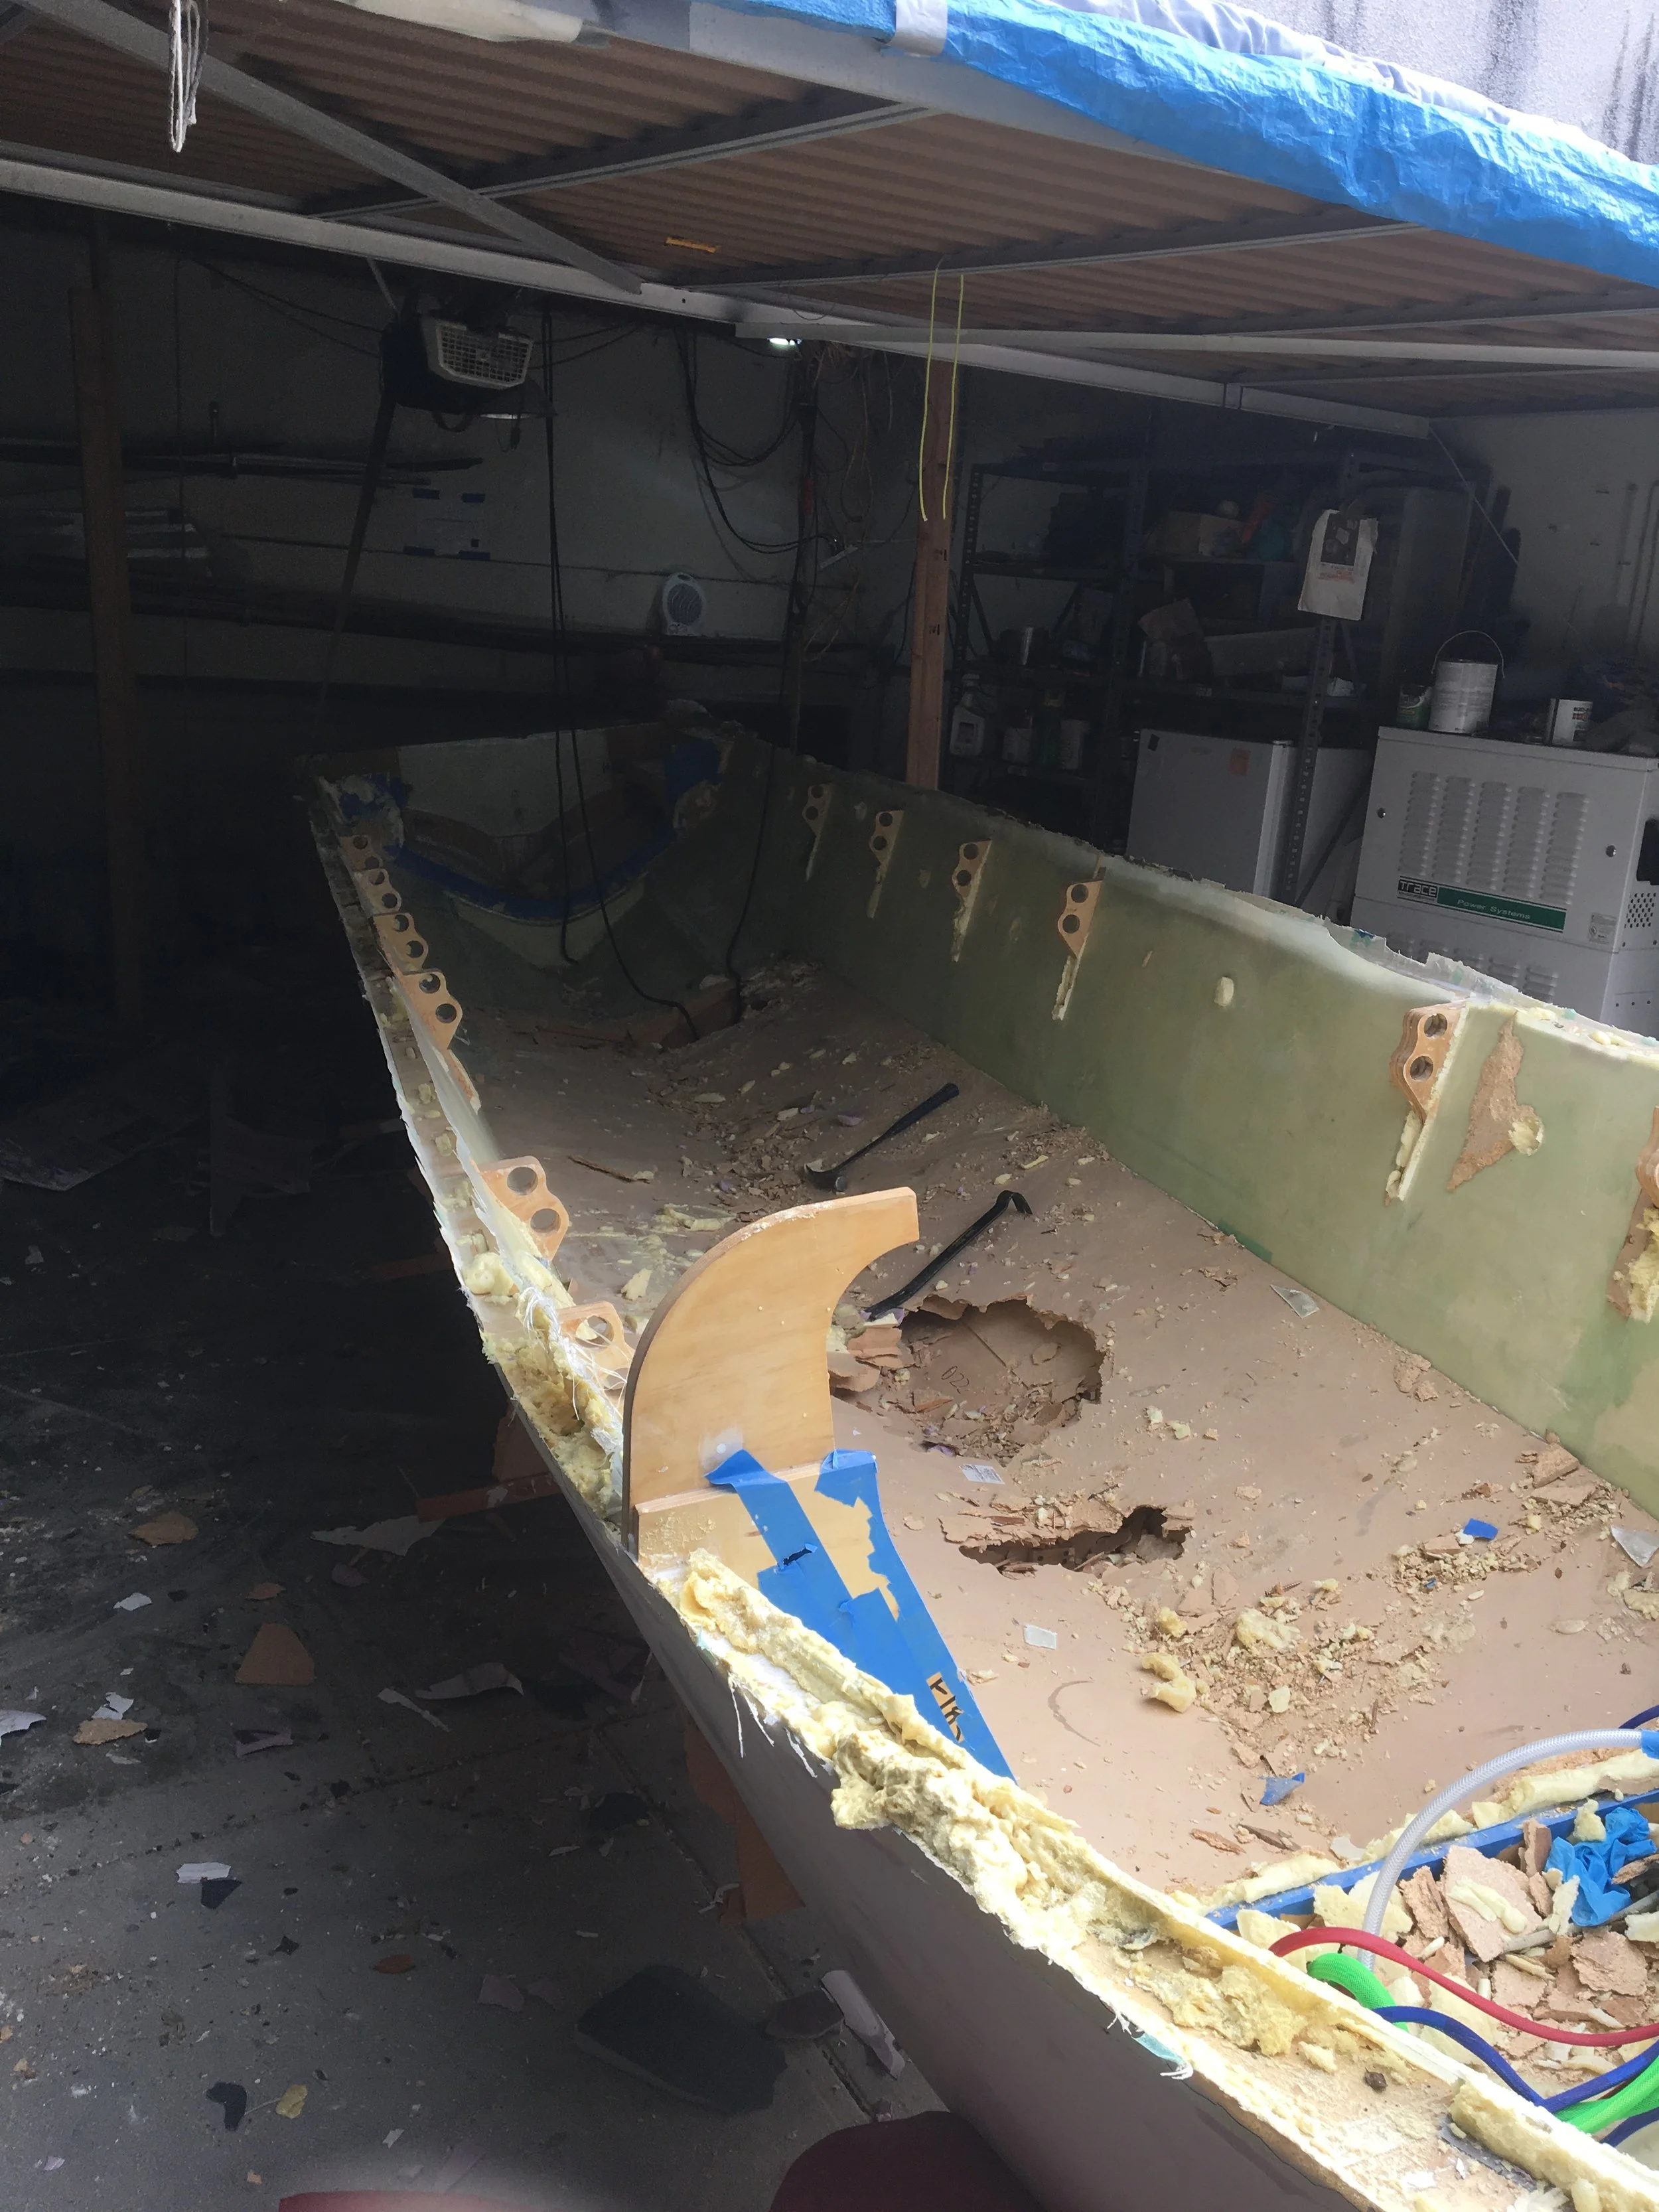
After the foam was set, it was time to bust the mold apart and free my boat at last! It took a lot of work, and I broke a few hammers but my boat came out of the mold without any problems.
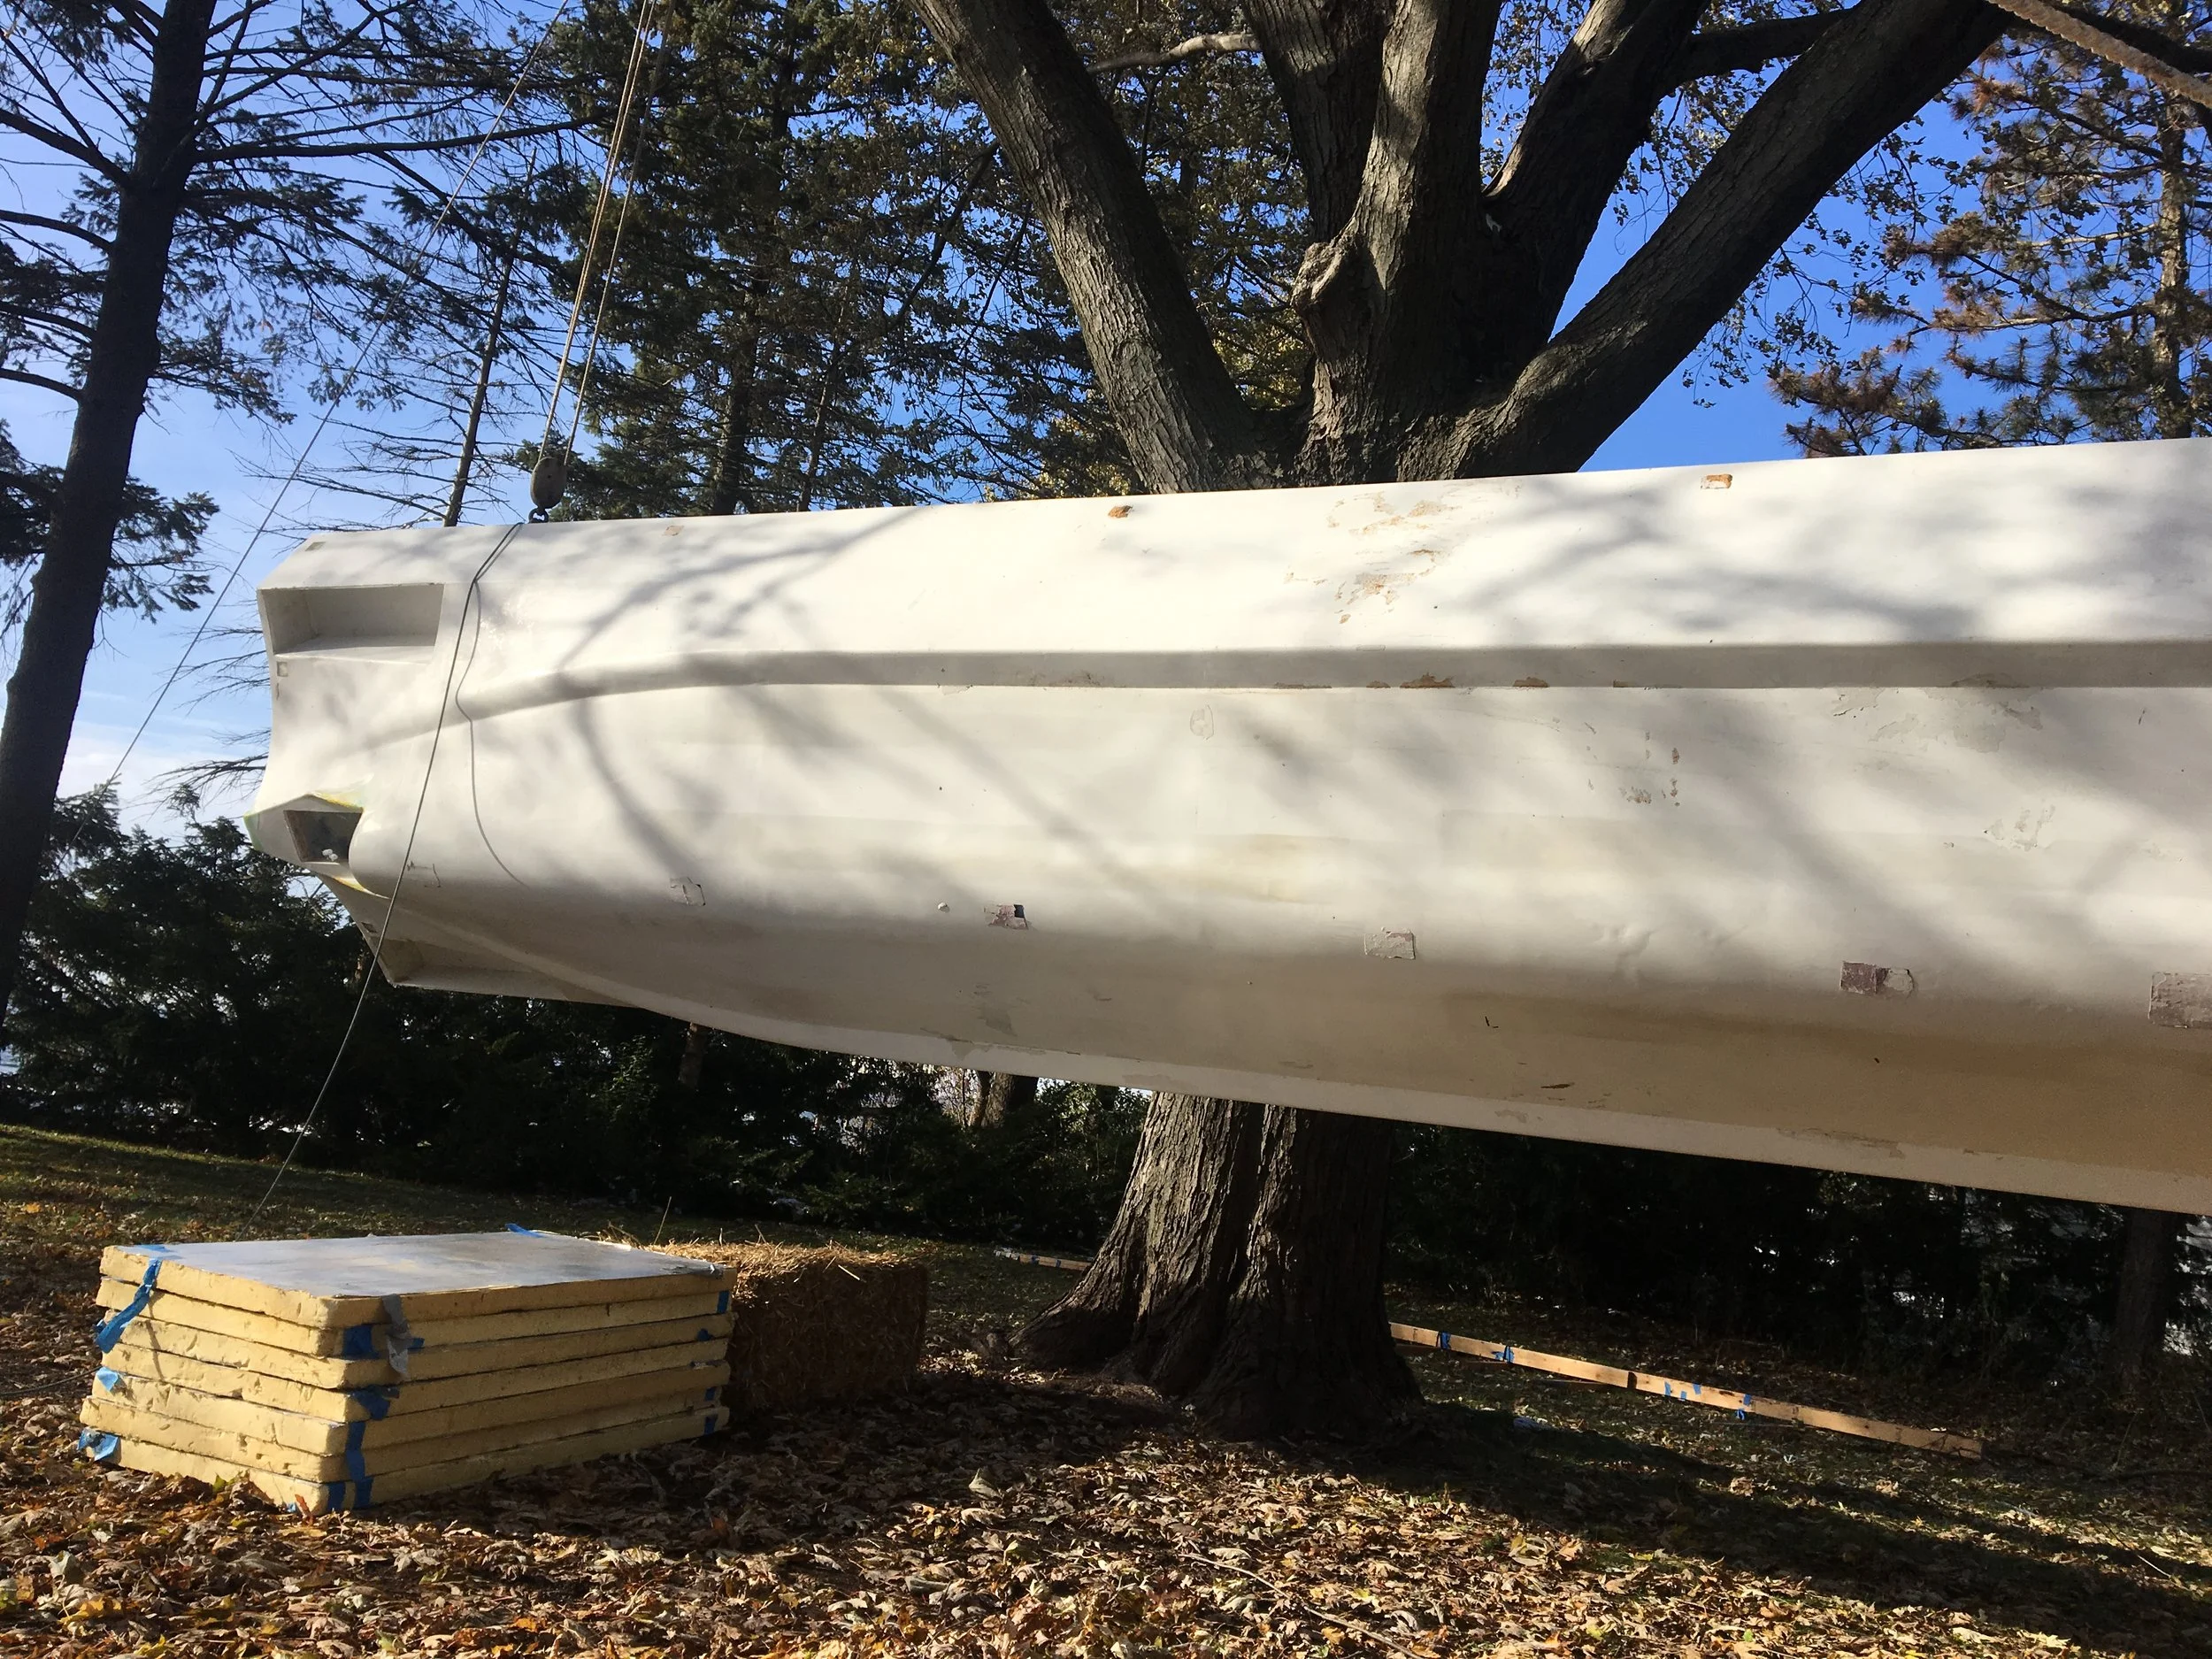
The hull turned out well, but there were some sections that needed some smoothing out or repainting. To get easy access to the bottom of the boat, I flipped the boat over with a bunch of ropes and pulleys attached to a large tree.
After some touch up and clean up the hull looked great!
Inside touchups
After a few touchups, the inside of the boat also looks great.


